You can connect your Facebook Page either from the ClickSocial web application or the ClickSocial WordPress plugin
Jump to Connecting from the WordPress Plugin
Connecting from the Web Application
- Log into clicksocial.com and go to your Dashboard.
- In the left menu, under Settings, click Connected Accounts.
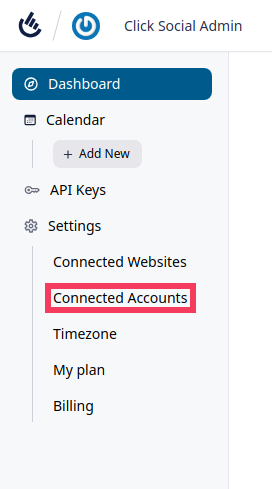
- Click Add New

- Click Connect to Facebook

- If you are asked to log into your Facebook account, log in with your credentials.
- Click Continue as (your facebook profile name)
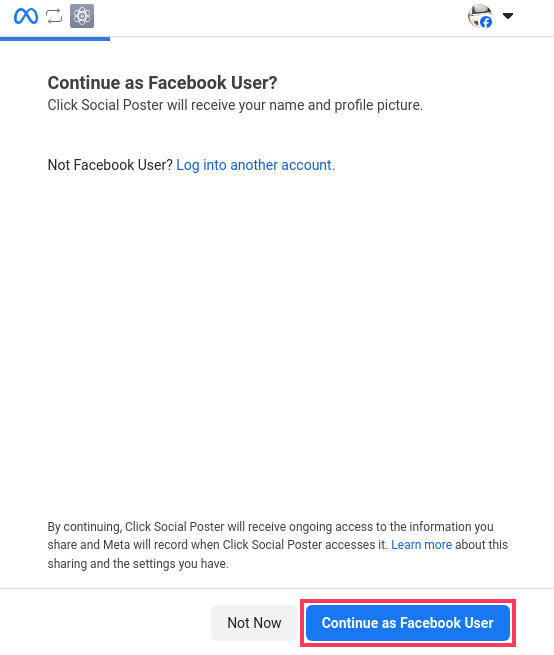
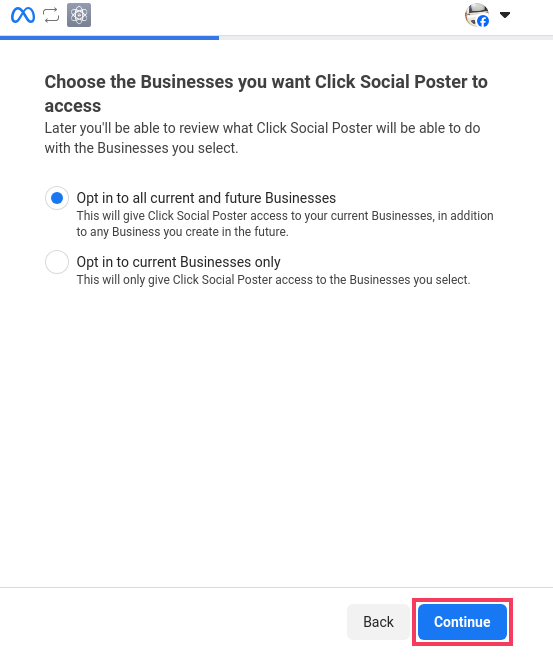
- For Facebook profiles with Businesses associated, choose to opt into all current and future businesses or only selected businesses. Then click Continue.
- Choose to opt in to all current and future Pages or only selected pages. Then click Continue.
Note: If you only select specific pages and then you later want to connect a new page, you will need to go through the connection process again and edit the permissions.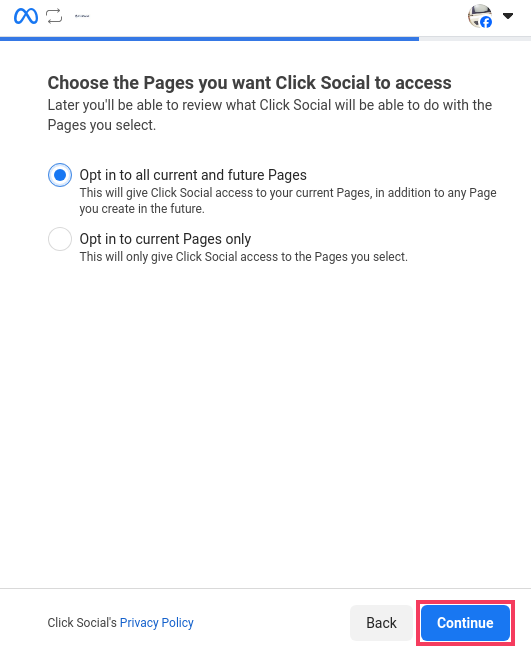
- Review the permissions that the Click Social app is being granted and click Save.
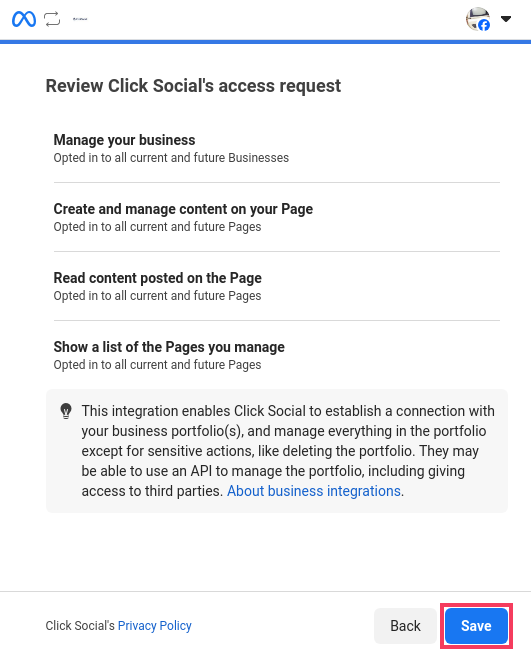
- After a few moments, you’ll be redirected back to the ClickSocial web application and your connected Facebook Page will be listed in your connected accounts
Connecting from the WordPress Plugin
- Log into your WordPress Dashboard
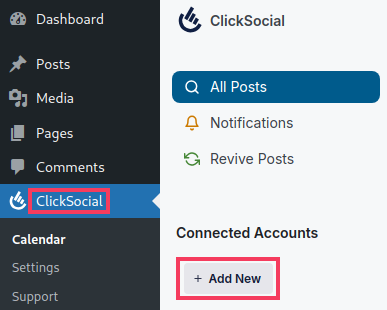
- Go to ClickSocial
- Under Connected Accounts, click Add New
- Click Add Account

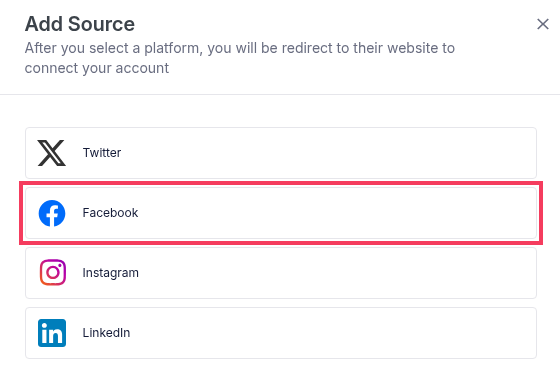
- Click Facebook
- If you are asked to log into your Facebook account, log in with your credentials.
- Click Continue as (your Facebook profile name)

- For Facebook profiles with Businesses associated, choose to opt into all current and future businesses or only selected businesses. Then click Continue.

- Choose to opt in to all current and future Pages or only selected pages. Then click Continue

- Review the permissions that the Click Social app is being granted and click Save.

- After a few moments, you’ll be redirected back to your WordPress Dashboard and your connected Facebook Page will be listed in your connected accounts in ClickSocial
