Revival Campaigns help you choose WordPress posts that you want to automatically share on social media.
Create a Revival Campaign
- Go to your WordPress Dashboard and click ClickSocial
- Click Revive Posts
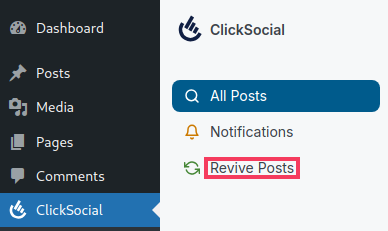
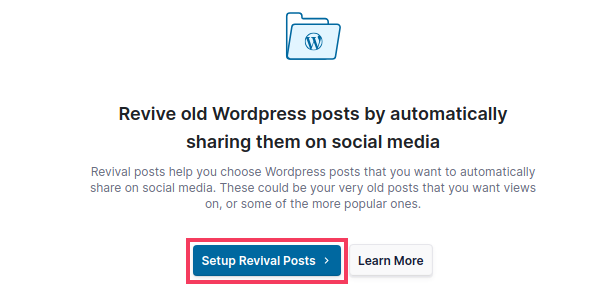
- Click Setup Revival Posts
- Set up your post filters to determine which posts to publish to your social media accounts. You can filter by date, tag, and author. Click Next when you’re finished.

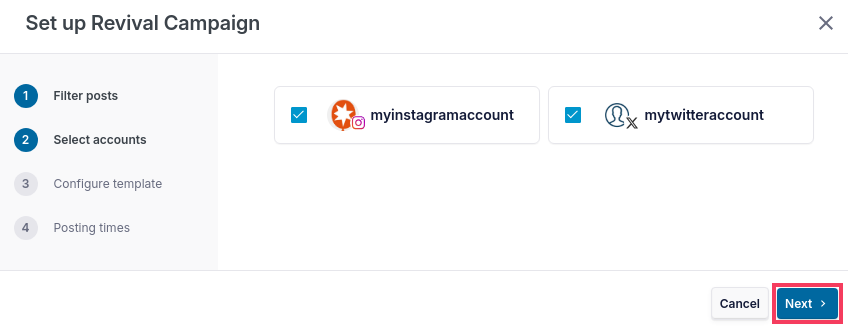
- Select which social media accounts to post to. You can select multiple accounts. Click Next when you’re ready to move on.
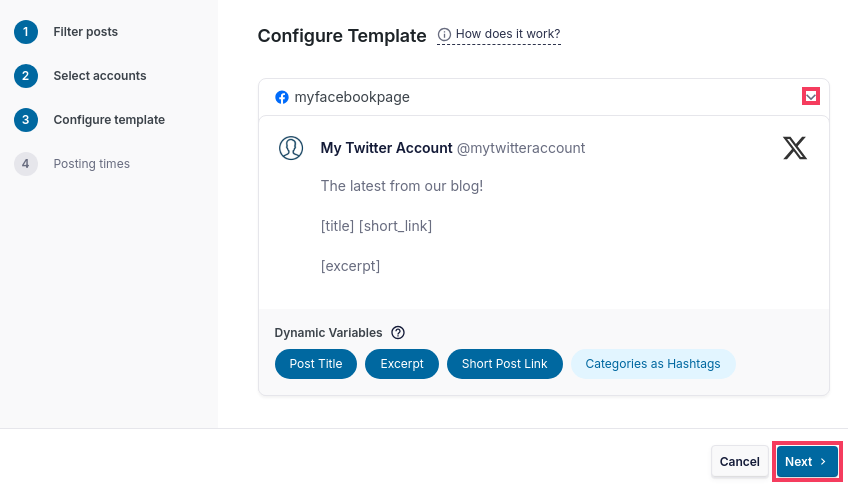
- Set up your post template(s). You can include dynamic content like the Post Title, Excerpt, Short Post Link, and Categories as Hashtags by clicking the buttons in the Dynamic Variables section. If you select multiple accounts to post to, you must create a template for each one by clicking the down arrow next to the account name. Once your templates are ready, click Next.
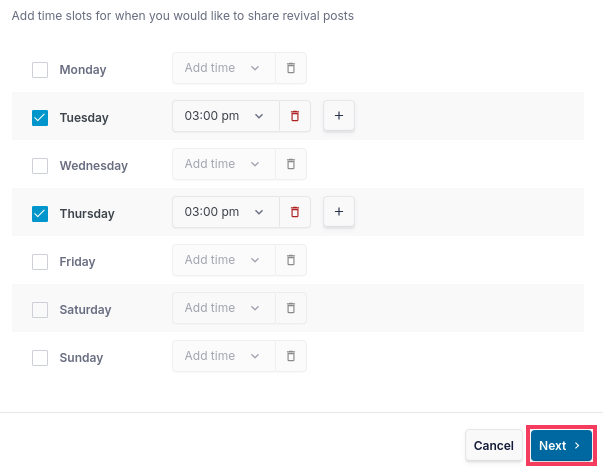
- Set your posting times. You can set the specific days and times you would like revival posts to be published. Once you’ve set your posting times, click Next and your Revival Campaign is ready!
- You’ll be taken to your Scheduled tab and here you will see the posts that were scheduled.
- If you would like to edit your revival campaign later, click the Settings tab.
