This guide will help you get started with ClickSocial and begin scheduling posts quickly!
Sign Up
To start using ClickSocial you’ll first need to go to clicksocial.com and click Sign-up or Try for Free to create your account. Fill in the required information, click Sign Up Now, and then access your ClickSocial Dashboard to get started.
Install the WordPress Plugin
Download and Install directly within WordPress
- From your WordPress Dashboard, go to Plugins > Add New Plugin
- Search for “clicksocial”

- When “ClickSocial – Social Media Scheduler & Poster” appears, click Install Now
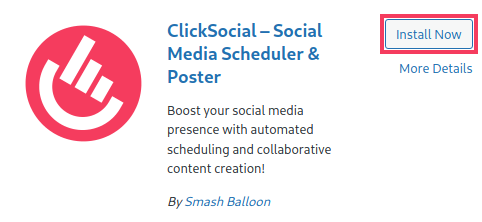
- Once the installation process is completed, the button will change to say Activate. Click Activate and then the plugin will be ready to use.

Manual Install
- From your Dashboard on clicksocial.com, click the link to download the WordPress plugin.

- Go to your WordPress Dashboard > Plugins > Add New Plugin and click Upload Plugin
- Click Choose File, select the plugin zip file that you downloaded in Step 1, and click Install Now
- When the plugin finishes installing click Activate Plugin and now ClickSocial will appear in your left WordPress Dashboard menu
Connect your ClickSocial Account to the WordPress Plugin
- From your Dashboard on clicksocial.com and under Add API key to the plugin, click Generate API Key

- On the API Keys page, click Add New

- Enter a name for your API Key and click Generate API Key.
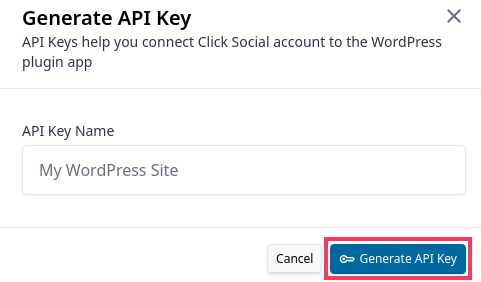
- Click the Copy button to copy your API key. You’ll need this to connect the ClickSocial plugin in WordPress to your account.
- Log into your WordPress Dashboard and click ClickSocial in the left menu.

- Click the Setup My Account button
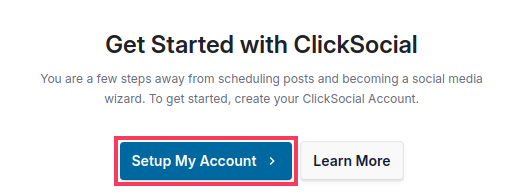
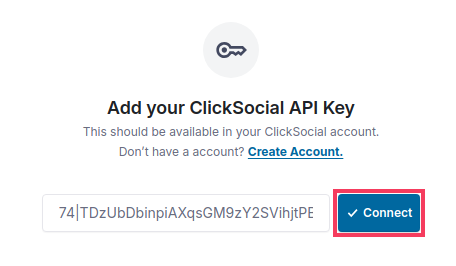
- Paste in the API key you copied from Step 4 and click Connect
Connect Your First Social Media Account
- After you’ve connected your API key, you can connect your first social media account by clicking Add Account

- Select the type of account you would like to connect

- Follow the on-screen prompts to connect your account. For more specific instructions, see our guides for connecting each account type here:
Instagram
Facebook
X/Twitter
LinkedIn - Once you’ve finished connecting your social media account, you’ll be returned to your WordPress site. You can click Add Account again to connect more social media accounts, but you can also connect more accounts at any time after this initial setup process. Click the Next button when you’re ready to continue.
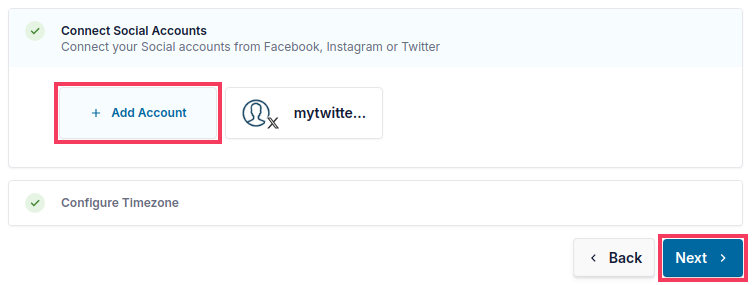
- Now select either the timezone set for your account on clicksocial.com or the timezone configured within your WordPress site and click Finish Setup.

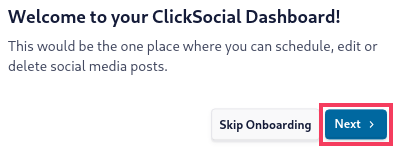
For more information on setting up your timezone in ClickSocial, see this guide. - Now you will be shown an onboarding tour with more information about how to use ClickSocial. Click Next to get started!
Next Steps
See our guides and references here to learn more about how to use ClickSocial. Some good places to start are How to Create and Schedule a Social Media Post and Editing the Post Schedule.
